Where did this month go? Seems like Stampaganza just started and now it's just days from being over! This is one of my favorite specials and it doesn't come around often!
This year there are some new options! Several hostess exclusive stamp sets are back! 15 of them! Wow!
And 12 "Month Word Puzzles" are available for this special only!
This style of fancy fold card has been "popping up" lately on Facebook, Pinterest and YouTube. I've enjoyed the many variations I've seen, but I was looking for directions to make a standard size card (4.25" x 5.50") with the simplest steps and technique to use. I liked Joy Tracey's YouTube video the best (thanks Joy!) I changed the sizing a bit to create mine as the standard size I was looking for. See instruction photos at the end of this post.
I used the bright and cheerful colored papers from Little Dreamer, plus a sheet of Thistle and Lagoon cardstock.
Isn't she the cutest? I colored her hair with the Clay marker and heart with Peony Purple marker.
Skin is with a flesh colored pencil. Dress and cheeks are with a Bubble Gum CTMH Watercolor pencil. I added touches of shimmer to everything on the card with the Clear Shimmer Brush. LOVE it!
Cut and score the pieces as shown. You can skip the scoring on the 2nd piece by folding it in half, then opening it and folding each end in to meet the your first fold in the center. Does the trick without the scoring time!
Use a bone folder to get good crisp folds. This will help the Twist and Pop mechanism to work smoothly.
NOTE: Adhere two patterned pieces 4" x 5 1/4" to the inside of your card base before attaching the pop out mechanism (house). See my card opened up at the top of page.
Lay the 3" x 10" piece flat on top of the attached mechanism, lining up the center fold with the 2 1/8" markings. Fold back the two ends and add adhesive as shown. Carefully close the card and rub over the top to reinforce the folds. Open and close it a few times to ensure it works properly.
Add 2 1/4" x 2 3/4" pieces of patterned paper to the 3" x 10" pop out piece.
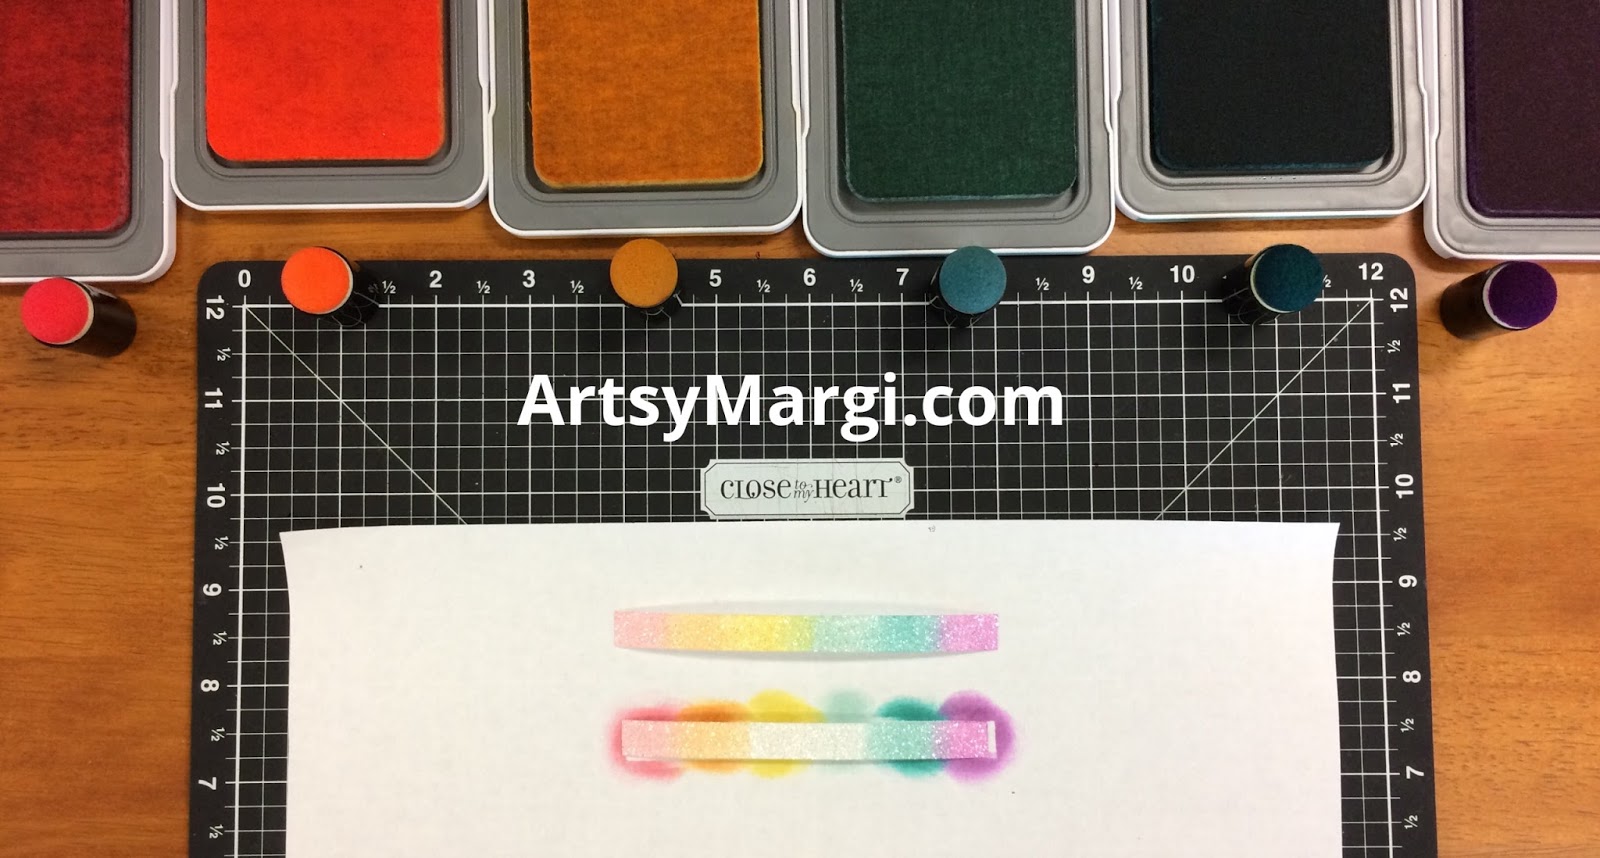
It's so quick and easy to do with Sponge Daubers and CTMH Exclusive Stamp Pads. Just tap the color onto the Shimmer Trim and watch the colors come to life!
Left to Right: Blossom, Tangerine, Canary, Glacier, Lagoon, Thistle
I started on the ends and worked my way toward the middle. This way I had room for all the colors!
Look at this adorable Unicorn magically prancing across the sky! It's a fun card with lots of happy! It's the Unicorn way!
In my last post, I shared a masculine card with a Feather Overlay design. I wrote about how I used the beautiful Forever & Always Cut Above Layout Kit and how versatile it is to make cards from the supplies!
Here are 6 more of the 15 cards I made.
I LOVE how pretty they are!
I spent a couple of days creating a document with cutting directions, assembly tips, and 35...YES, 35 photos!
Please let me know if you'd like more information on the 15 cards and how you can receive the document to create them for yourself! Email me mgstamps@hutchtel.net
The Forever and Always Cut Above Layout Kit is available while supplies last! Find it HERE on my website under Going Soon. Hurry and order a kit or two before they run out!
This is feather design, which would make a great masculine card, is one of a variety of 15 cards in a kit I offered at my National Scrapbooking Day Crop last Saturday. All 15 cards were cut from the Cut Above Forever and Always Layout Kit.